5 Ways to Fold Your Pocket Square
What is a suit without a pocket square? This nifty little accessory simply completes your look, adding a sprinkle of splendour and ultimate elegance. It is also a great way of adding a dash of character and putting your personal spin on a suit.
Pocket squares come in an array of colours, patterns and fabrics making it super easy to choose one to match your suit, but you need to know how to fold it. Here's our five go-to ways to fold your pocket square.
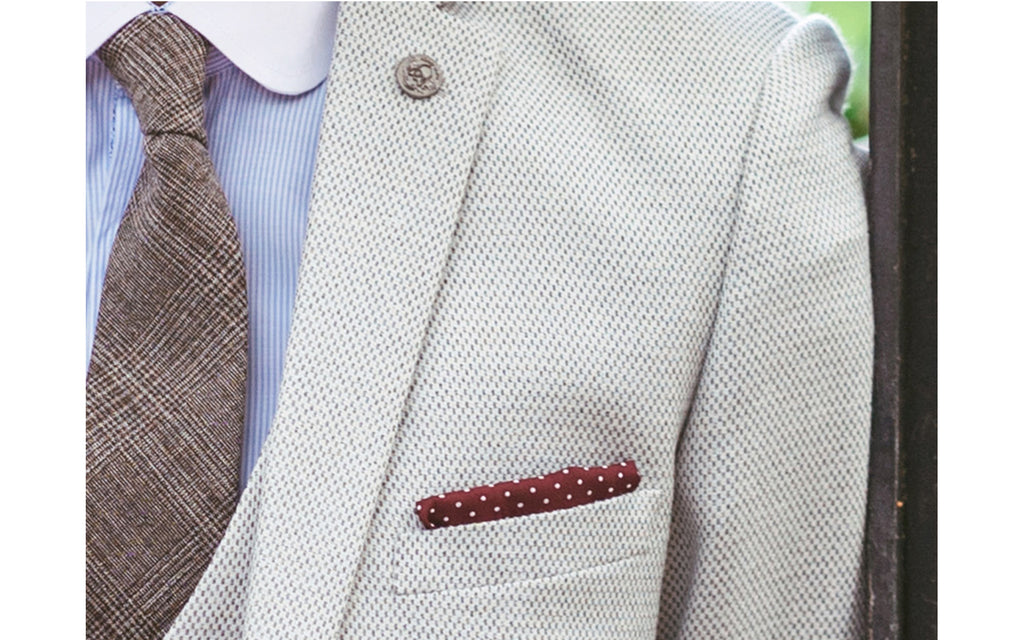
1. O N E P O I N T F O L D
A great all-rounder, this fold works for most occasions and is incredibly easy to do. It creates a clean-cut triangle for an overall sophisticated look. Here's how to achieve it.
1. Bring the top left corner to the bottom right corner and fold to form a triangle
2. Fold again to form a smaller triangle
3. Fold in the two bottom points of the triangle to meet at the centre
4. Slip into the pocket so the triangle is peeking out
2. S Q U A R E F O L D
Best suited for more formal events such as black tie, the square fold is simplistic yet really makes the difference. A black tux with a white square fold pocket square is a winning look. Follow these steps to create this fold...
1. Bring the corners together to form a rectangle
2. Fold to make a small square
3. Fold diagonally to create a triangle
4. Slip into the pocket so the straight edge shows and the point is tucked away
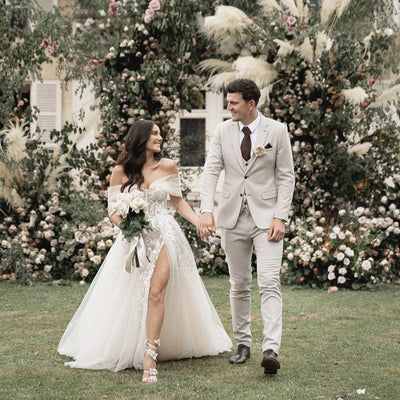
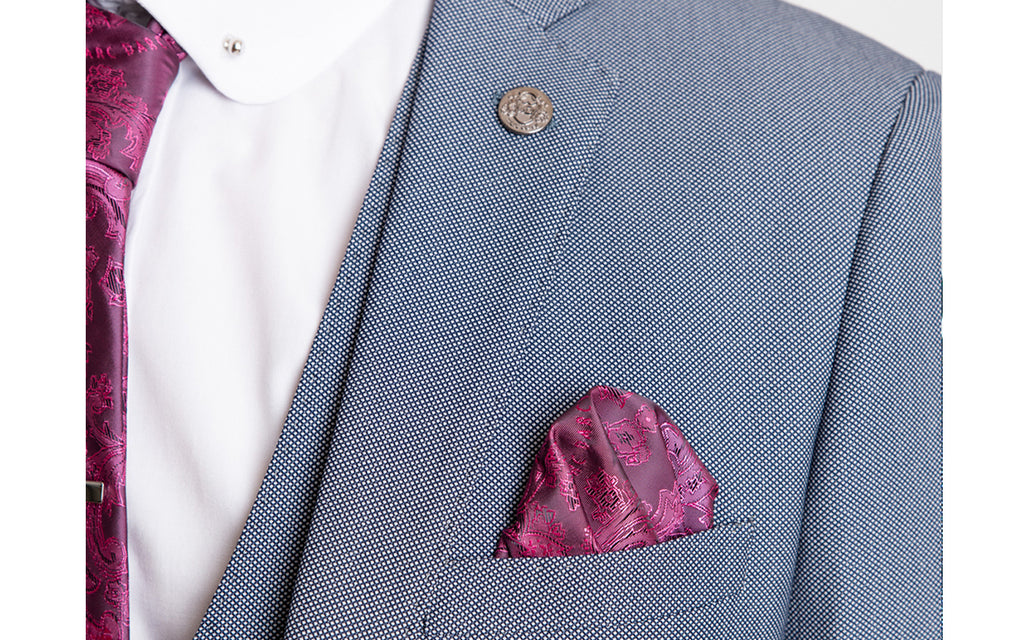
3. P U F F F O L D
This fold is more of a creative one, stepping away from clean lines and going for curves instead. It is a great option for a wedding and will show you know what you're doing when it comes to pocket squares!
1. Lay the pocket square on a flat surface
2. Pinch the centre of the pocket square and draw upwards
3. Smooth the sides down and bunch up slightly at the bottom to create volume
4. To keep the shape, fold slightly at the bottom and place securely into the pocket
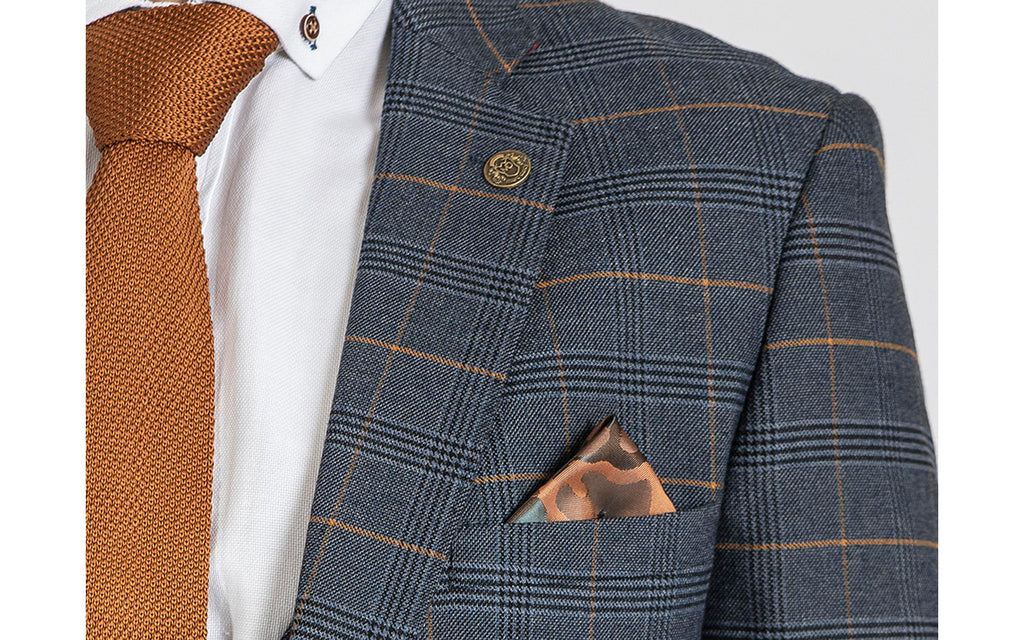
4. T H R E E P O I N T F O L D
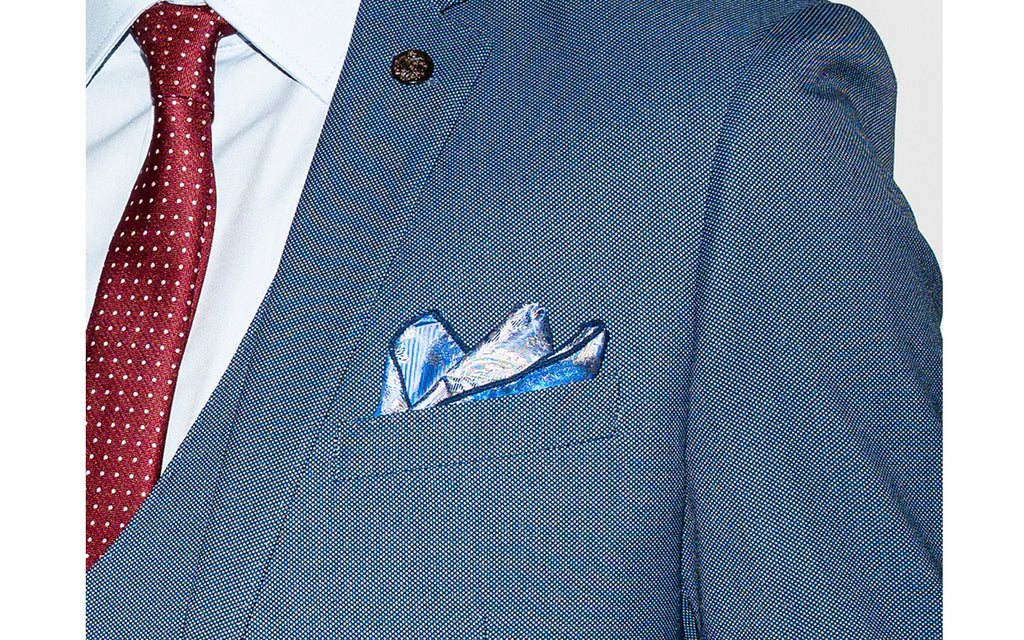
Classic and timeless, this mix between the point and puff folds makes for an eye-catching pocket square. Bring some life to yours with these simple steps...
1. Bring the top left corner to the bottom right corner and fold to form a triangle
2. Fold the right corner to the left of the centre point to form two points
3. Fold the left corner to the right of the centre point to form three points
4. To keep the shape, fold slightly at the bottom and place securely into the pocket
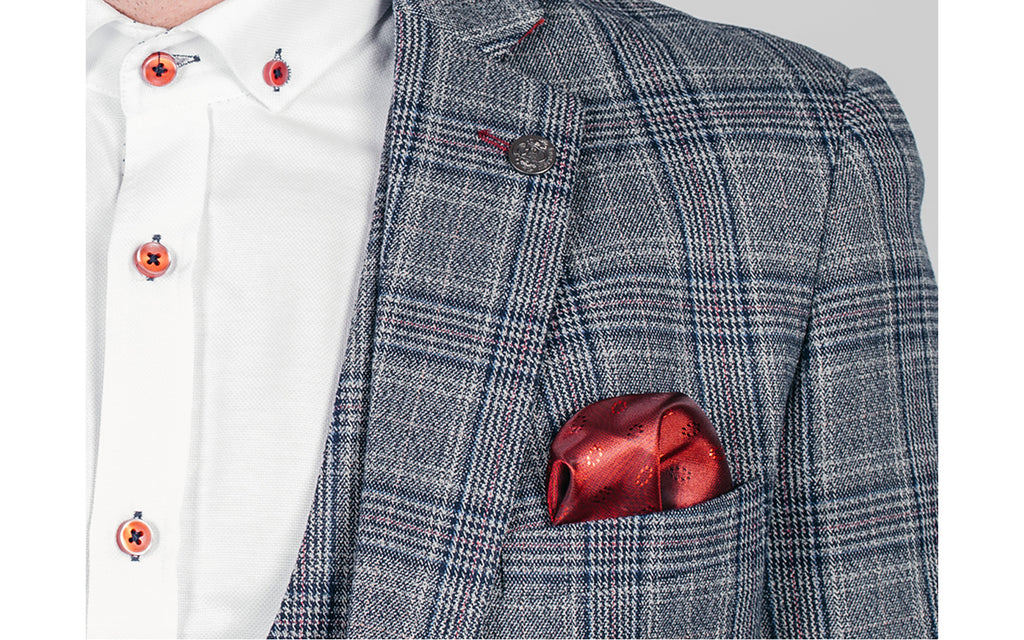
5. P L E A T E D P U F F F O L D
Fancy the puff fold but want something a tad more defined? This one is for you. The pleated puff fold creates clean lines for a smooth finish and uses much of the same method as the aforementioned puff fold. Here's how to do it...
1. Lay the pocket square on a flat surface
2. Pinch the centre point of the pocket square and draw upwards
3. Smooth the sides down. By doing this you should naturally create pleats in the fabric, if not move around slightly to create 3 defined pleats
4. To keep the shape, fold slightly at the bottom and place securely into the pocket
Happy folding!

How to Style Our New Collection
You may have seen our new collection by now, if...

One Suit, Four Ways | Dion
Get more bang for your buck by creating a multitude...

What to Wear to the Races
The weather is warming and the grass is getting greener...

A Guide to Our Suit Fits
The key to a great looking suit is getting the...

Tuxedo vs Suit: What's The Difference?
When shopping for a formal look you'll be faced with a variety...
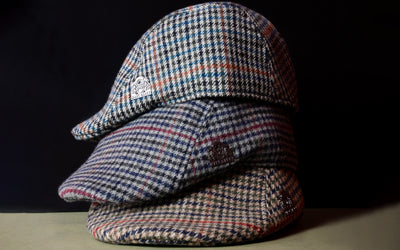
How To Style A Flat Cap
As soon as Peaky Blinders hit our screens, flat caps began surging...